How To Trim Or Dremel Your Dog’s Nails
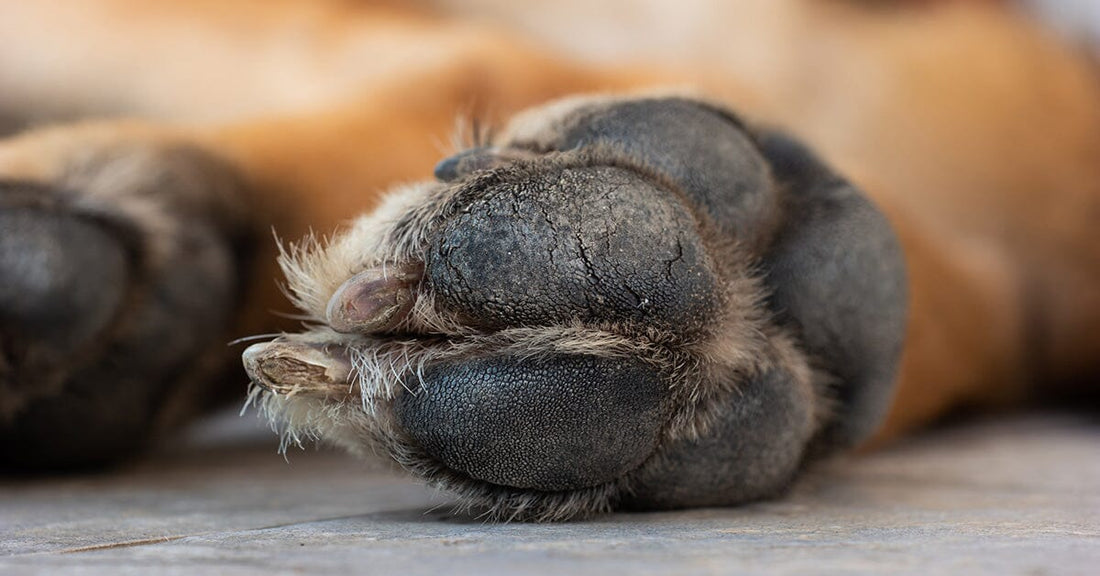
Keeping your dog’s nails trimmed down is important to their health and well-being. Knowing how to trim your dog’s nails is a good skill to have. Even if you prefer to have them done by a pro, you never know when you might have to deal with them on your own.
Being able to confidently trim your dog’s nails will also help your dog stay calm. Training your dog from a puppy to accept their paws and nails to be handled is very important and will help prevent your dog from becoming a terror about it when they’re older.
One of the easiest ways to keep nails trimmed down is by using a Dremel or similar tool. If you’re scared to cut your dog’s nails with a nail clipper, it can help a lot so long as you condition your dog to accept the grinding sensation and noise.

How to Trim Your Dog’s Nails with a Dremel
All you need to file your dog’s nails with a grinding tool is a Dremel Pet Nail Grooming Kit and Grooming Discs. Or you can go old school and just use a handheld cordless grinder with a sanding kit. There are many grinding tools on the market in various price ranges.
1. Before you begin
Get your dog comfortable with a nail grinder. Let your dog sniff the grinder while it's turned off and gently touch the grinder to your dog’s paws and give them a treat. Once your dog is comfortable, turn on the grinder so they get acclimated to the sound, and repeat the touch and treat until they stay relaxed near it.
2. Prepare the Dremel or grinding tool
Be sure your grinding tool is charged or plugged in, that the nail guard is in place (if you have one), and the sanding disc is firmly attached.

3. Examine the nails
Next, get your dog into a comfortable position and examine the nails. Look for chips and cracks, signs of injury, and look under the nail so you can see where the quick is. Keep the grinding file away from the sensitive quick so you don’t accidentally injure it. On black nails, the quick can be seen on the underside of the nail where it separates out into a triangular shape with two outer walls.
4. Begin filing
Once you have a visual idea of how much you need to trim, you can turn on the tool and begin filing. Try to file the nail straight across so none of the tip will hit the floor when you’re finished or as the nail grows out. Some people prefer to hold the dog’s paw while others prefer to hold the nail firmly. Hold the tool at a 45-degree angle and touch the sanding disk to the nail so that you follow the natural shape. Don’t press too hard. If your dog shows discomfort, stop and give them a short break before starting again or start another nail and go back and finish.
5. Watch out for heat
While grinding makes it easier to prevent cutting the quick, the friction of the tool creates heat. Be sure to be sensitive to your dog and that their nails aren’t getting hot. By taking tiny breaks, you can prevent heat buildup, which can spook your dog from wanting future trims. By holding the nail rather than the paw, you can feel how warm your dog’s nail is getting. You’ll have to figure out what works best for your pet.

6. Once you’re done filing
Once you’re done filing your dog’s nails, have your dog stand on a hard surface to make sure none of the nails are hitting the ground. If all the nails are trimmed enough, you’re done! Give your dog a treat and lots of praise!
How to Trim Your Dog’s Nails with a Clipper
If you’re comfortable using a clipper, it can be faster than a grinding tool. However, many owners get worried that they’ll accidentally cut the quick. If this is you and you still want to cut rather than grind the nails, it might help to ask your vet or trusted friend to teach you.
1. Before you begin
Before you cut your dog’s nails, be sure you are comfortable with the tool you choose. There are several types of nail cutters on the market and some even have a nail guard. You should also have some clotting powder and a towel on hand in case you accidentally cut the quick.

2. Examine the nails
Next, get your dog into a comfortable position and examine the nails. Look for chips and cracks, signs of injury, and look under the nail so you can see where the quick is. On black nails, the quick can be seen on the underside of the nail where it separates out into a triangular shape with two outer walls. Once you have a visual of where the quick is, you can begin.
3. Hold the paw gently but firmly
Take hold of one paw and securely place your thumb on the pad of a toe and your forefinger on the top of the toe above the nail. Be sure the fur is pushed out of the way, so you have a clear view. To extend the nail, push your thumb slightly up and backward on the pad, while pushing your forefinger forward, without squeezing the paw.
4. Begin trimming
Once you have a clear view of where you will cut, be sure to cut the tip of the nail straight across. Include the dewclaws, located on the inner side of the paw. It’s better to be conservative on your cuts and have to trim sooner than to cut too much and cause injury.

5. Never cut the curve of the nail
Never cut past the natural curve of the nail or you will probably hit the quick, where there is a collection of painful nerves and blood vessels. It’s harder to see the quick on dark nails so always look at the underside of the nail before you start trimming. Some dogs will have a chalky white ring on the underside of their nail otherwise watch for the part of the nail where it separates out into a triangular shape with two outer walls.
6. Once you’re done trimming
Once you’re done trimming your dog’s nails, have your dog stand on a hard surface to make sure none of the nails are hitting the ground. If all the nails are trimmed enough, you’re done! Give your dog a treat and lots of praise!
We hope these tips help you confidently cut your dog’s nails. As always, please feel free to share with your friends.
You may also like: How To Trim Your Dog’s Nails When They Give You A Hard Time

